Back to Asset Essentials Main Menu
PO Approval Routing
This feature allows the setup of purchase order routing and approvals. *Note: This feature is only available to Enterprise clients and requires a global admin to configure and adjust the approval workflows.
Accessing Configuration Page
-
Login to Asset Essentials.
-
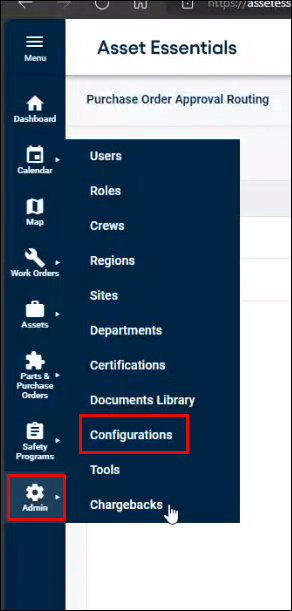
Click Admin, select Configurations.
-
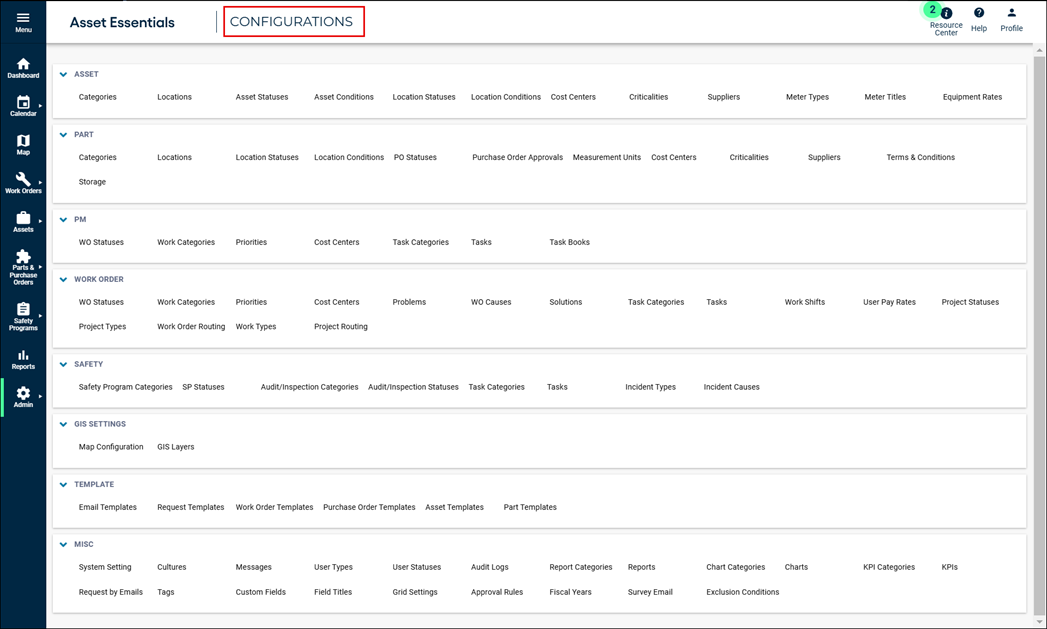
The CONFIGURATIONS page appears.
-
For creating a new approval route, proceed to next section.
-
For editing an approval route, skip to Editing an Approval Route section.
-
For approving and denying POs, refer to Approving or Denying POs.
-
For email notification, skip to Email Notifications section.
Creating a New Approval Route
-
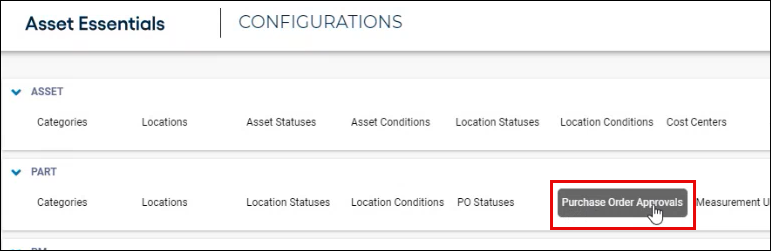
Within PART section, click Purchase Order Approvals to view existing approval routes.

-
Within Purchase Order Approval Routing page, click + Approval Routing button to start a new approval route.

-
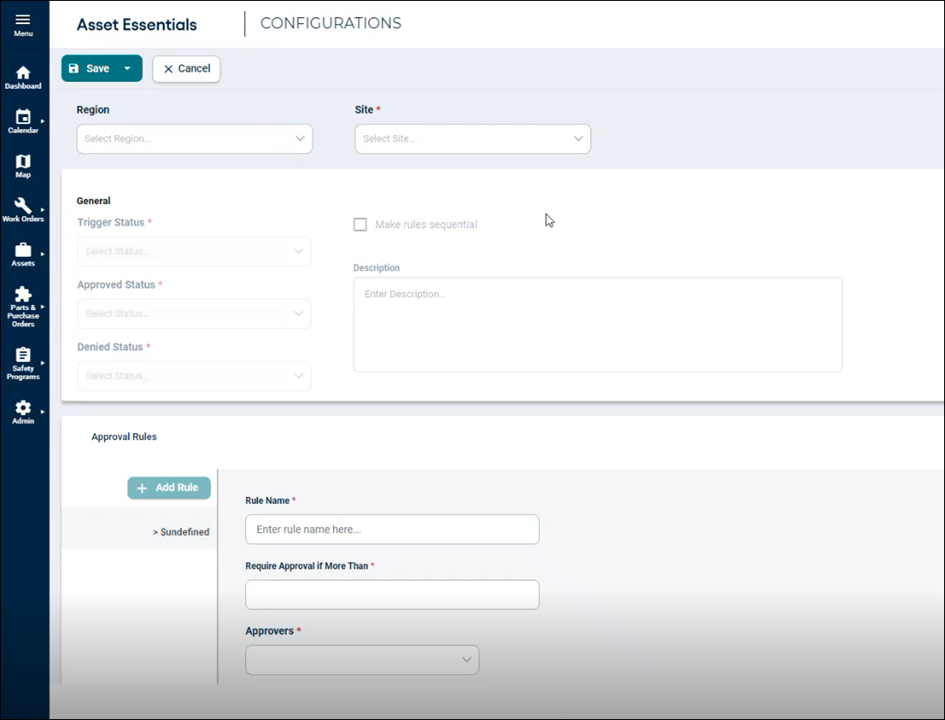
The following page appears, proceed to the next step to enter details in the page.
-
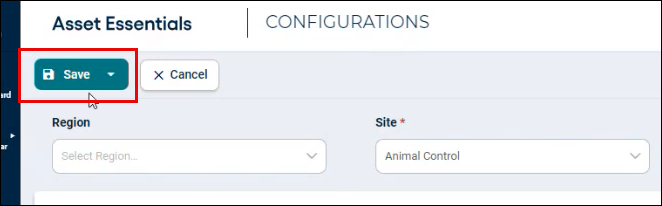
Select the site from the drop-down menu for which you want to configure the approval workflow.
-
Optionally, select a region first to narrow down the site options.
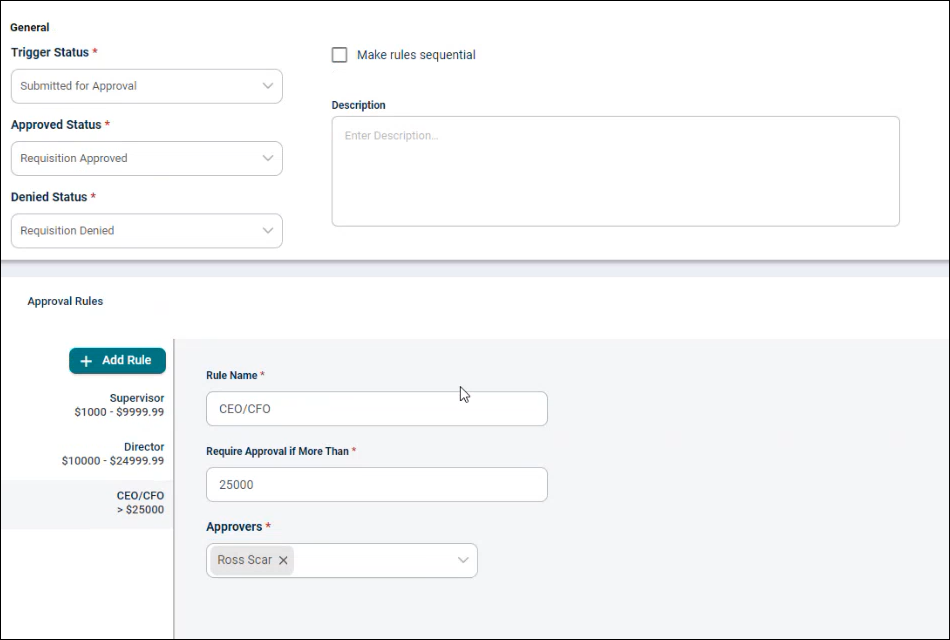
Configuring General Details
Trigger, Approved, and Denied Statuses
-
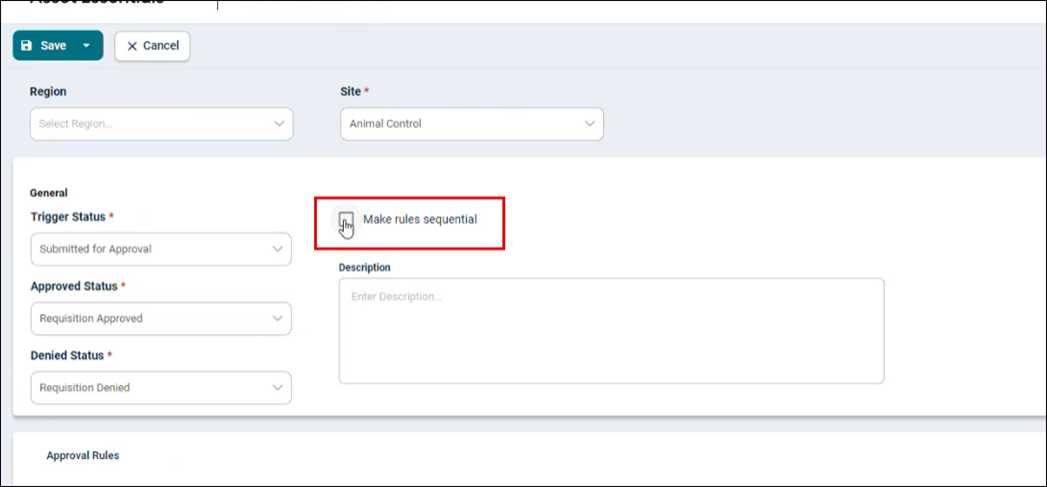
Trigger Status: Select the status that will initiate the approval workflow (e.g., Submitted for Approval.)
-
Approved Status: Select the status the PO will move to once all approvals are obtained (e.g., Requisition Approved.)
-
Denied Status: Select the status the PO will move to if it is denied (e.g., Requisition Denied.)
Range-Based or Sequential Workflow
Range-Based Workflow
-
POs are routed directly to the rule and its approvers based on the total PO amount and the approval rule range. *Note: Only one approval is required for the PO.
-
Higher-level approvers can still approve POs within lower ranges if needed.
Sequential Workflow
-
POs go through each approval level sequentially until reaching the highest applicable approval rule. There could be multiple persons needing to give approval if there is a high dollar amount PO.
-
One person in each level must approve before notifying the next level.
-
Higher-level approvers can still approve POs within lower levels if needed. *Note: If someone in a higher approval level gives approval, all lower levels no longer need to approve.
Adding Rules
-
Enter a name associated with your rule.
-
Enter the dollar amount where you want this rule to begin being enforced.
-
Select the approvers for the rule.
-
Select + Add Rule to begin adding another rule.
Saving the Workflow
Click Save to store the configured approval workflow.
Editing an Approval Route
-
Within PART section, click Purchase Order Approvals to view existing approval routes.
-
To edit an existing Approval Route, select it in the Approval List.

-
If purchase orders are pending approval in the route, a notification in the top right will inform you. *Note: Changes cannot be made to the general section of an Approval Route if there are POs pending approval in that route.

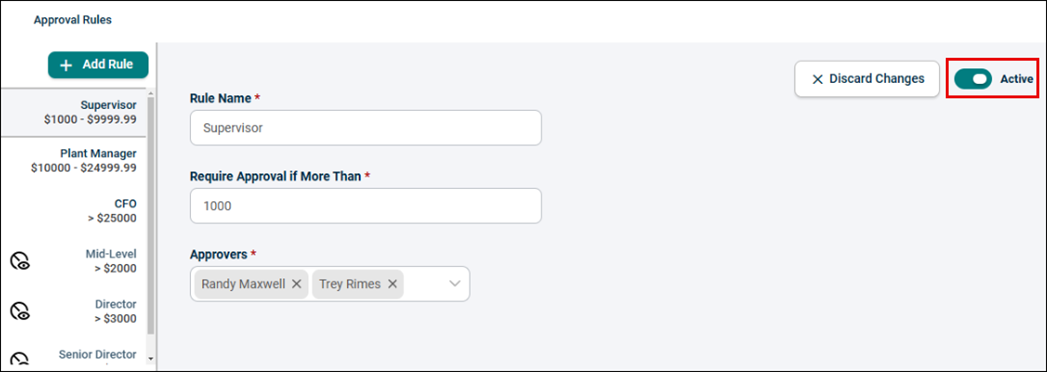
Updating Rules
-
Click + Add Rule if more approval steps are needed for your process. If + Add Rule selected mistakenly, click X Cancel Rule Creation, and the rule will be removed.

-
If you have started making changes to a rule and no longer want to keep them, select Discard Changes to remove the edits on the rule.

-
To deactivate a rule, click the Active radio button. The rule will fall to the bottom of the approval list and will no longer be applied to new POs entering the approval route.
Email Notifications
Updating/Creating Templates
Refer to Email Templates.
Approver Email Notifications
-
An email is sent to approvers when a PO is pending their approval. This template includes basic details about the PO and a link to the PO.
-
If you would like to alter this template, follow the below steps.
-
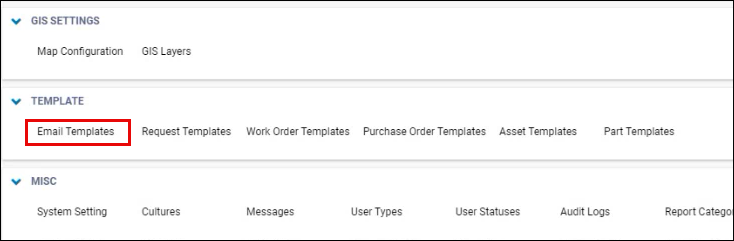
Within TEMPLATE section, click Email Templates to configure the email notification.
-
Filter to the Purchase Order Approval template type.
-
Update the details of this template to meet your needs.
Notification of Approval or Denial
To alert the creator/originator of the purchase order we recommend setting up an email to send to the originator when the PO enters the Approval or Denial Status. Follow the below steps to complete this:
-
Within TEMPLATE section, click Email Templates.

-
Create or modify an existing Purchase Order template. *Note: It’s best to create 2 templates. One for the Approval and one for the Denial.
-
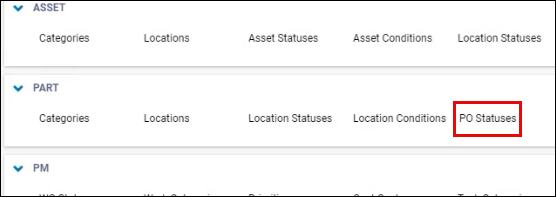
After the templates are saved return to CONFIGURATIONS. Within PART section, click PO Statuses.
-
Open the Approval status you have configured.
-
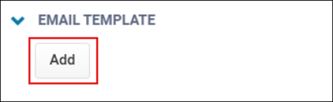
In the EMAIL TEMPLATE, select Add.
-
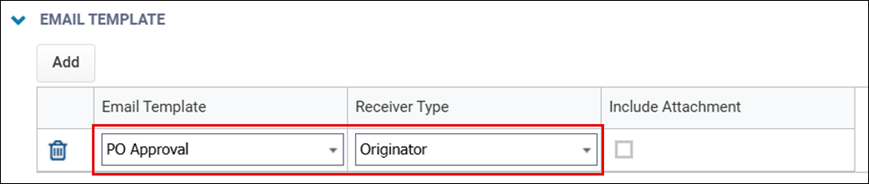
Complete the following fields:
-
Email Template: Select the PO Template you created for your approval.
-
Receiver Type: and choose to send it to Originators.
-
-
Save your changes to the PO Status.
-
Follow the same approach to configure the PO Denial email notification.
